


Smoky and Sweet: Get the Look Now!
I think it’s about time I wrote another Get-The-Look blog for you guys, because I know how much you love to try these looks at home, and I get asked a lot about what types of products I use to achieve the looks I’m always sharing on social media.
I call this the smoldering & romantic look. It’s smoky and sexy but also has its share of soft and romantic. No matter how extreme, dramatic, or seductive you want to go, always remember that there is a way to keep it grounded – because real-life makeup is about being relatable, not editorial-esque and out-of-this-world. So let’s get started, shall we?
Get Basic
Let’s start with the basics. When it comes to foundation, more often than not I opt for MAC’s Pro Longwear, simply because it’s an easy-to-use, creamy formula with a lot of lasting time on its hands, great for endurance of long, day-to-night events. After you’ve set the foundation, you need to highlight and contour – and that’s through MAC’s Studio Conceal and Correct Palette, which houses concealer and corrector shades for all skin tones.

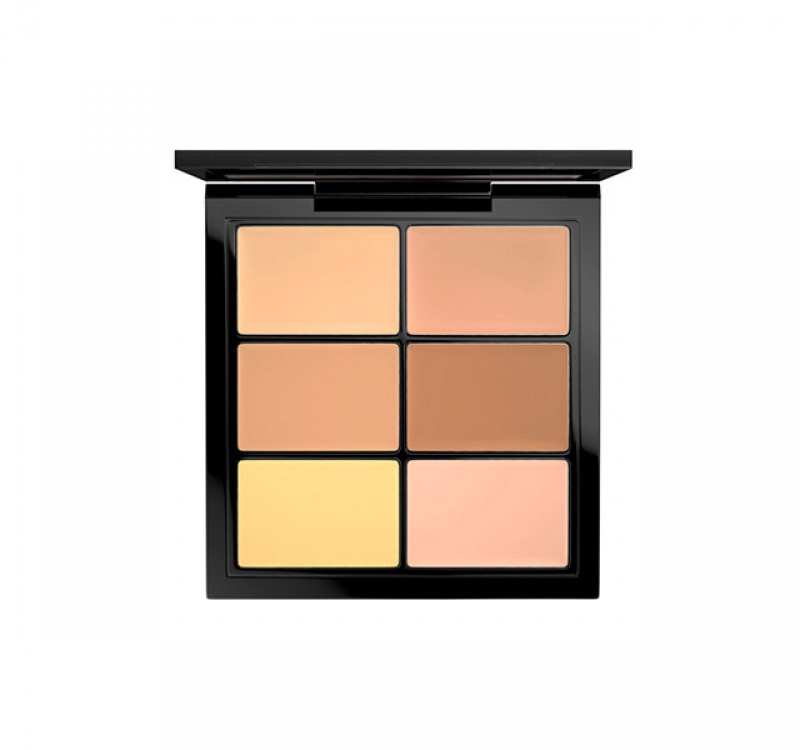
MAC Pro Longwear Foundation MAC Studio Conceal and Correct Palette
Powder Up
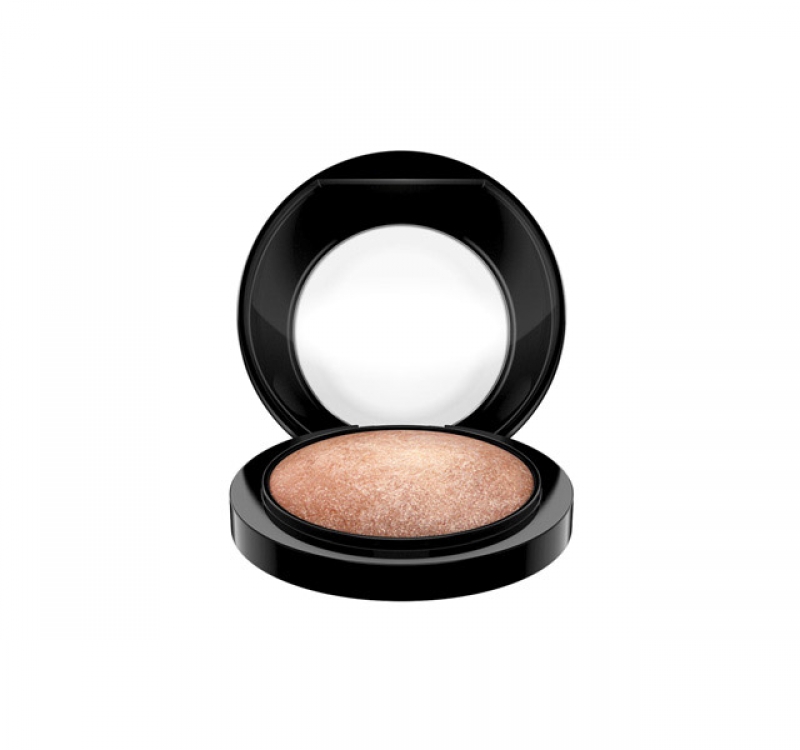
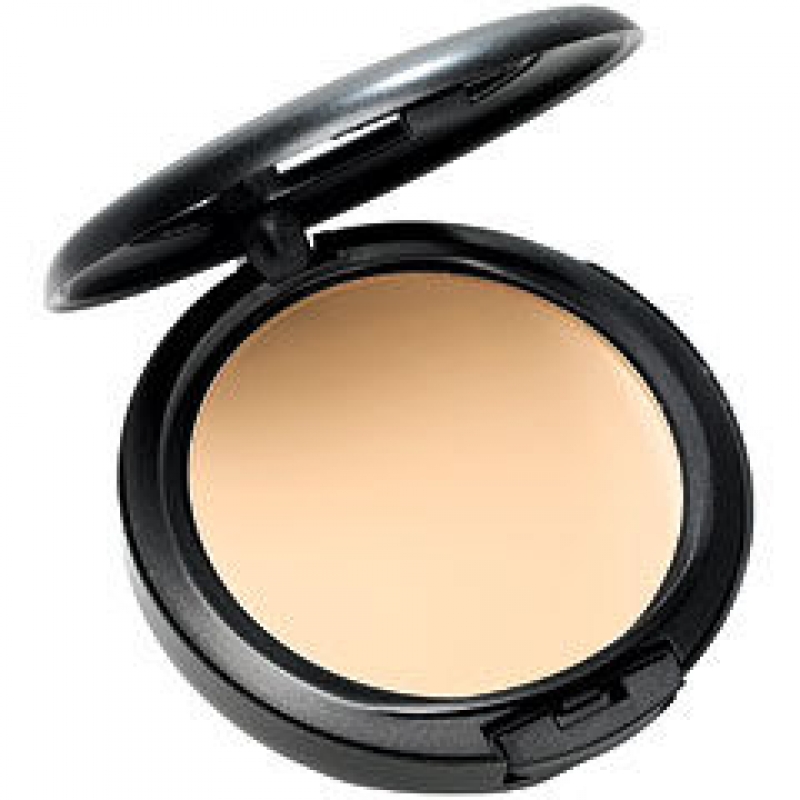
After the basics had been laid down, it’s powder time, I went for MAC’s Studio Fix Powder Plus Foundation – a medium coverage, matte textured powder, as well as Mineralize Skinfinish, a highlighting powder par excellence.
Eye Treatment
Here’s where the fun begins. This look has a set of dreamy and dramatic eyes so there’s a lot of blending and artistry that you need to pay attention to when creating the eye look.
Shadows: there are three shadows that have to blend gradually to create this look, remember, we are going from light and angelic on the inner corner of the eyes to dark and smoky on the outside. All will be done with MAC’s Eye Shadow in three different tones. We start off on the inner corner with the nude-ish Naked Lunch, we start blending that in with the hazy lavender of Trax, until we darken the look completely as we fade into the outer corner with the deep, purply Sketch.
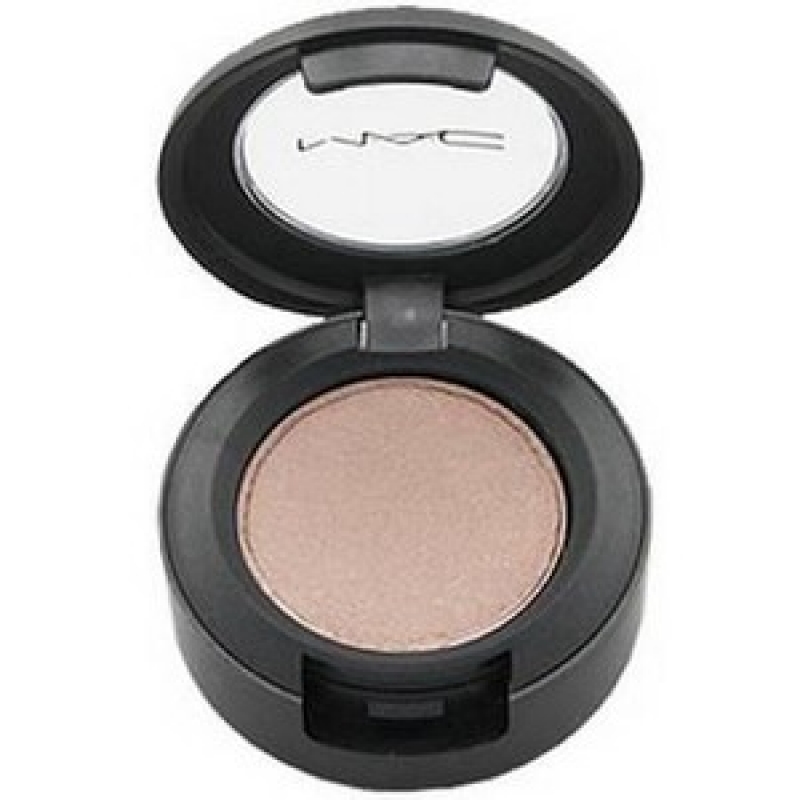
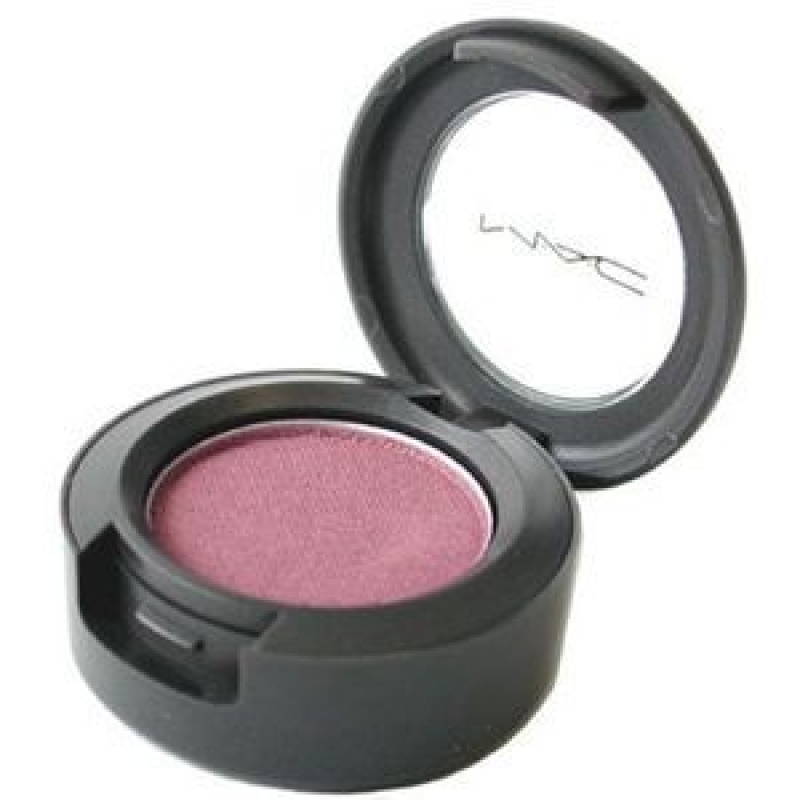
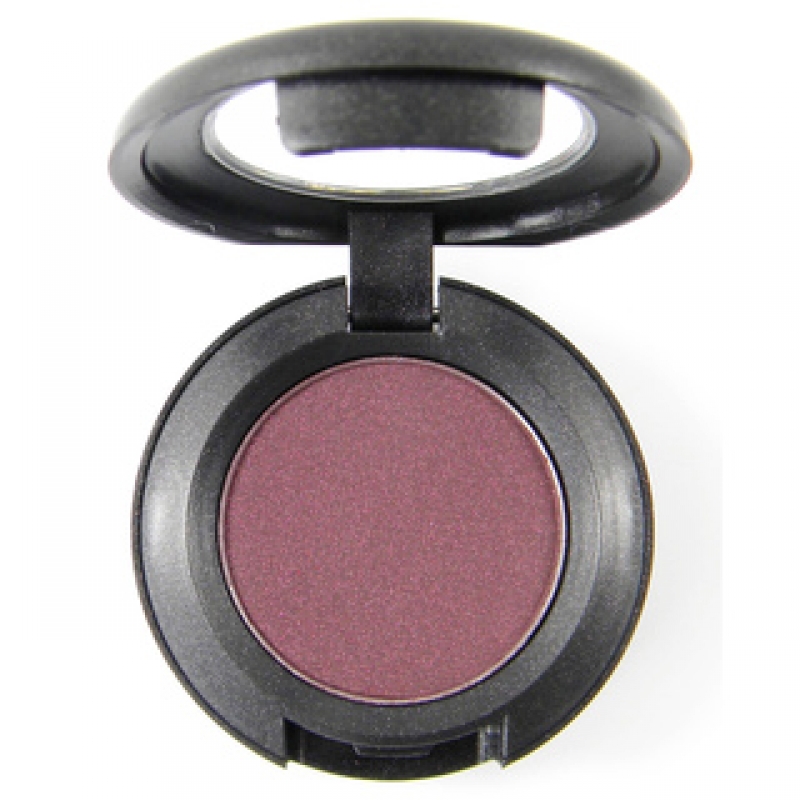
Palying the fading game: Naked Lunch, Trax, and Sketch, respectively.
Definition: For definition, we need to line the eyes and define the brows. Go for Maybelline’s Eye Studio Lasting Drama Gel Eyeliner, in the Blackest Black shade. Long-lasting, dramatic, delicious.
If you’ve read any of my brow-related blogs before, you’d know that I always opt for Anastasia Beverly Hills’ Dipbrow Pomade to define the brows. Always go for a soft, natural tone to fill in your brows – make sure you don’t darken or exaggerate them – that’s not the point, you need to fill them in and define them, that’s all.
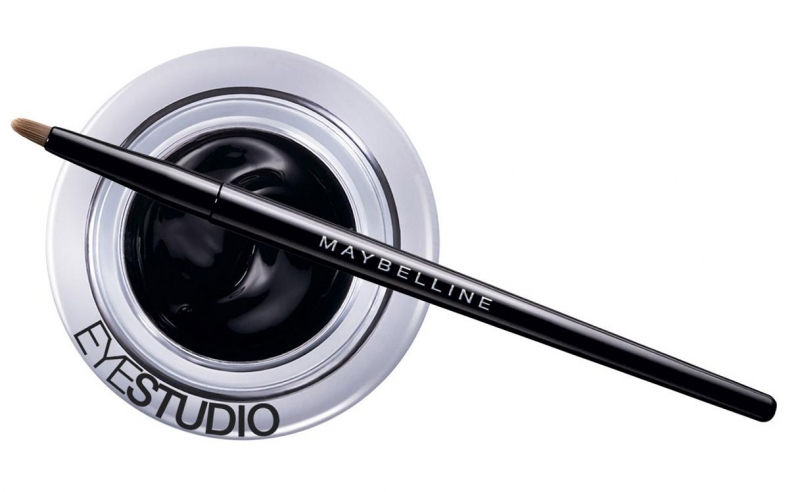
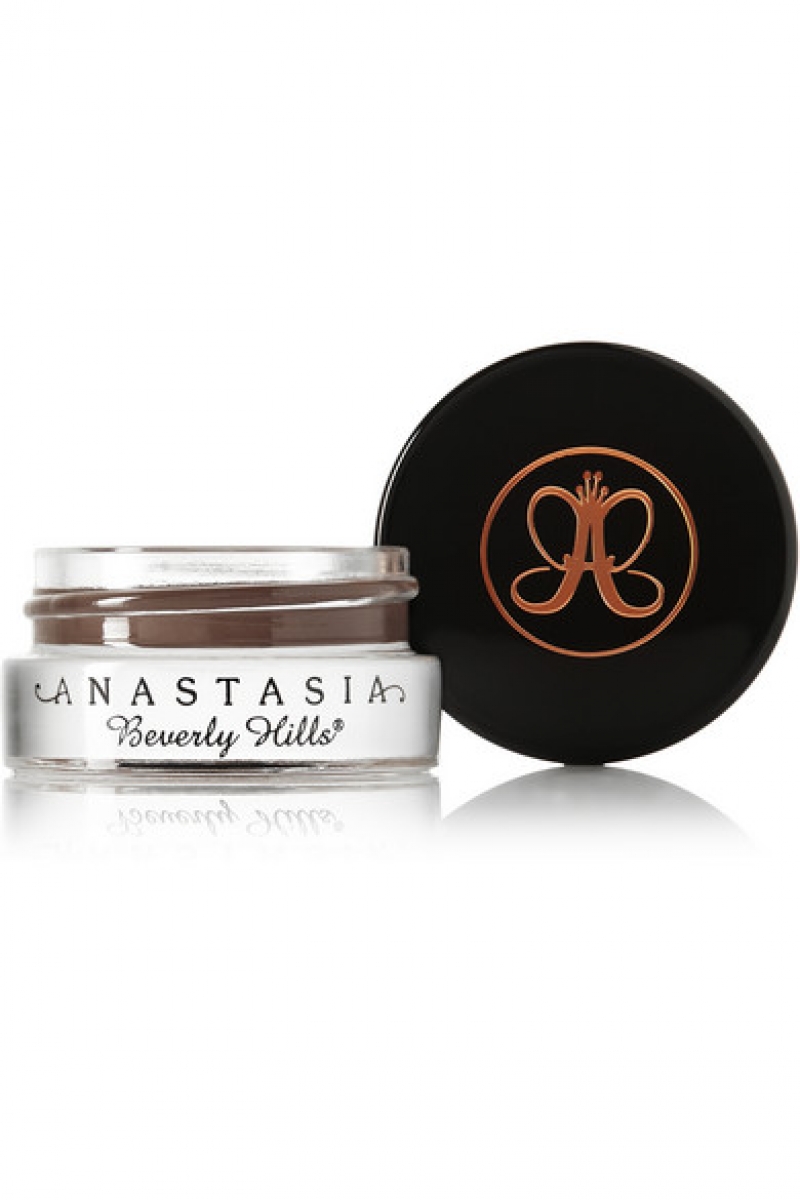
Maybelline’s Liquid Liner Anastasia’s Brow Pomade
Flare Out and Dramatize
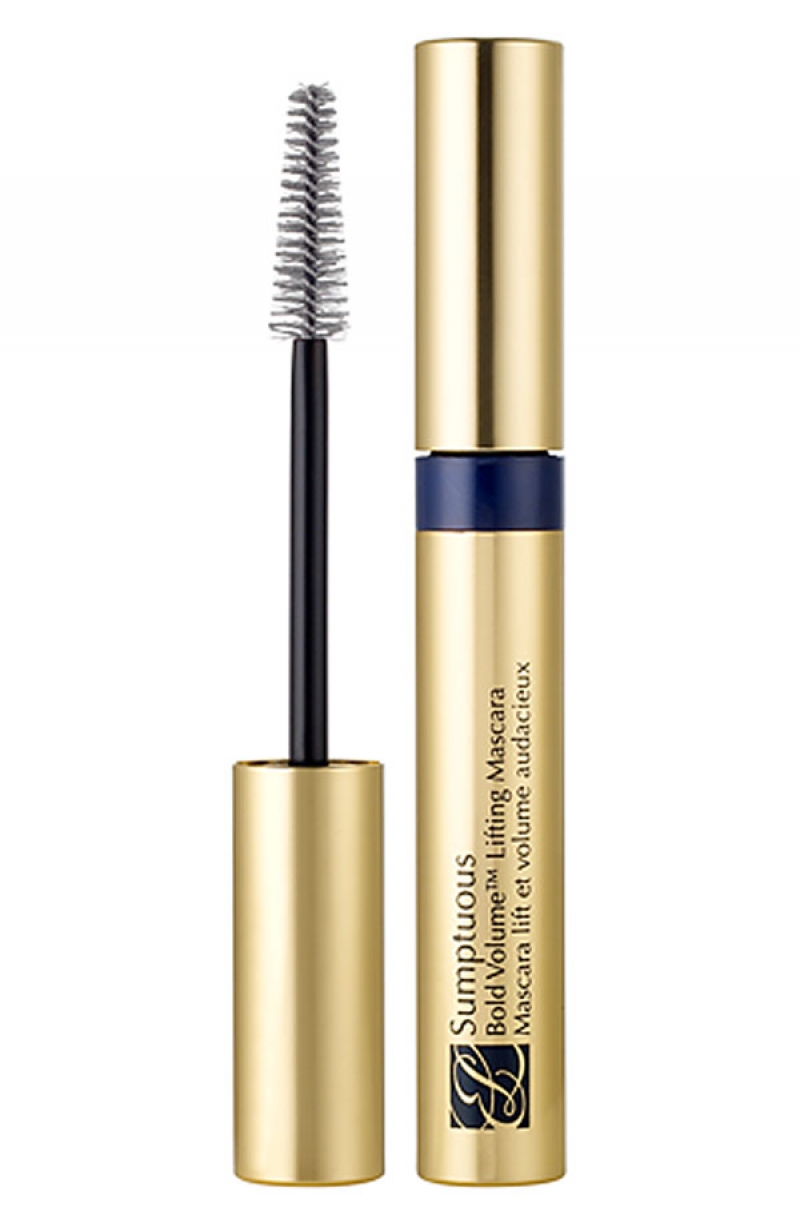
Lash out! To add the heightened sense of drama to this look I used a set of individual lashes from Ardell. Individual lashes are the best shot you have at making falsies look natural but glamorous and larger-than-life. It’s a lot more work, but the final result is as subtle and intricate as the process. To integrate the false lashes with your real ones, my advice would be to swipe on mascara even after you’ve applied them – so go for my all-time favorite dramatizer, Estee Lauder’s Sumptuous.
Cherry On Top
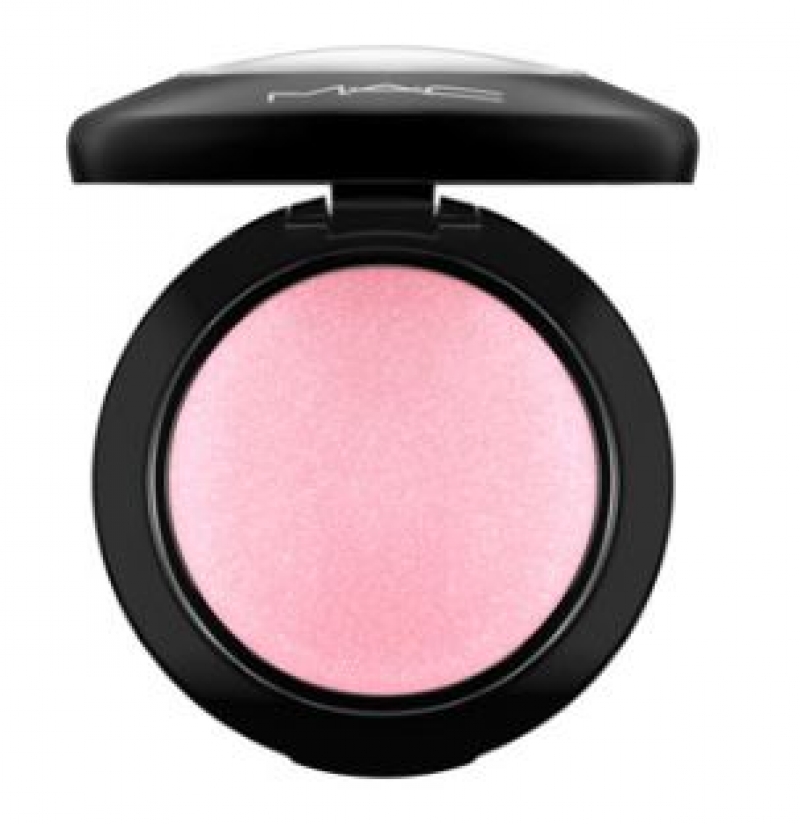
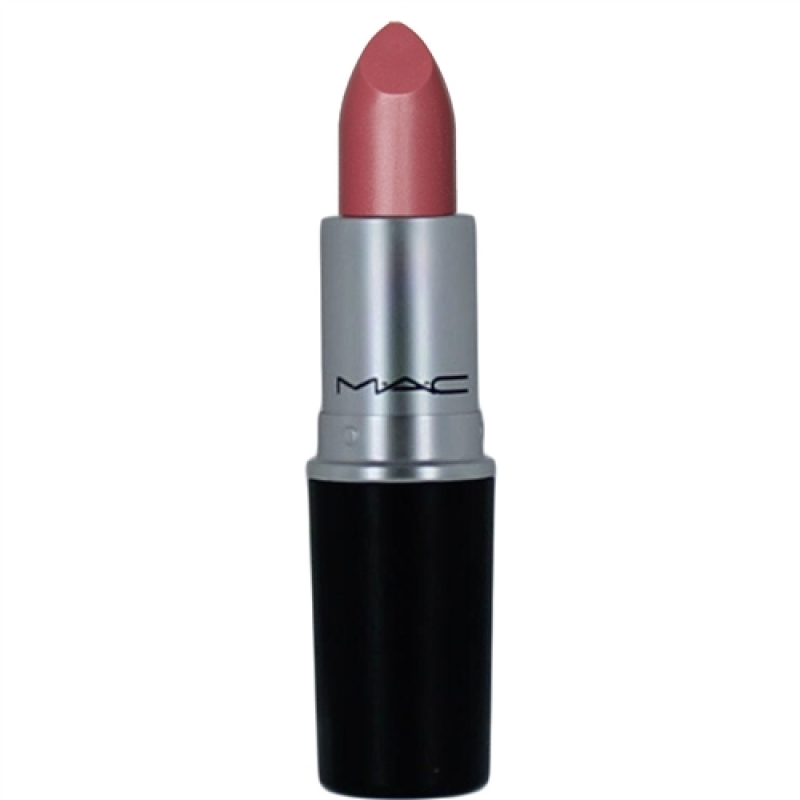
To sweeten up the look, I went for warmth on the cheeks and lips. As a blush, I opted for MAC’s Mineralize Blush in Love Joy, and for the lips, I chose a sweet pink MAC Lipstick in tantalizing Syrup.
So, what do you think of this look?
Recent Posts
-
MAC Trends AW 2016 from Berlin!
-
Over a Million with #CelebratingArabWomen
-
#CelebratingArabWomen: The First Arab Women Empowerment Campaign
-
Get the look: Spring 2016 makeup by Hala Ajam
-
Hala Ajam Releases First Veiled Emoji
Related Articles
-
MAC Trends AW 2016 from Berlin!
-
Smoky and Sweet: Get the Look Now!
-
Get It While It’s Hot: Bobbi Brown’s Summer 2015 Hot Collection
-
Stress Less: Makeup Shortcuts for your Beauty Routine
-
Love Me, Love Me: The Cherry Shades You Need this Valentine’s!
